
Drip irrigation doesn't just save water (and the money you pay for that water), it also saves time.
Here's How:
1. Start with a small drip irrigation project: A vegetable garden laid out in rows or Shrubs around your house foundation can be watered efficiently with drip irrigation.
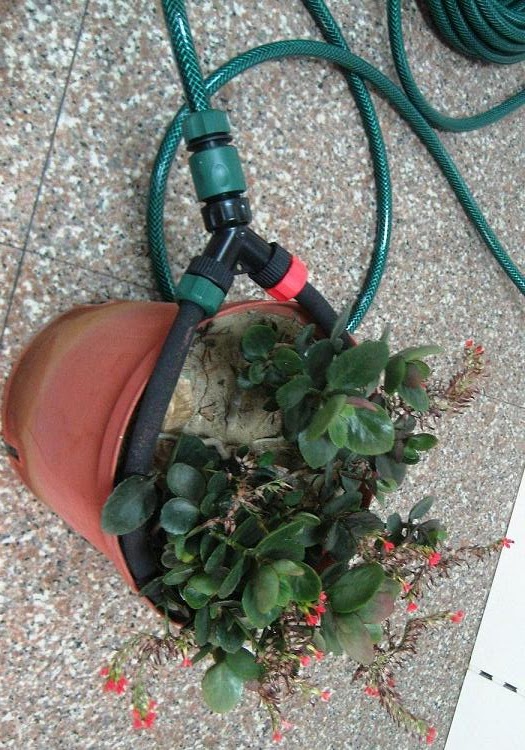
2. Determine a water source: Any outdoor faucet can be used for an automatic drip irrigation system, provided you attach a Y-shaped valve hose connector as our PC-17 PLASTIC HOSE CONNECTOR WITH DUAL SHUT-OFF.
Put it on upside down, so that the bottom of the "Y" attaches to the faucet. Attach one arm to the garden hose that will deliver water to the drip irrigation system. The other arm can be attached to an auxiliary garden hose for other watering needs.
3. Start measuring: Draw a garden plan, showing the plants you want to water and how far apart they are. How much of hose length you need for your garden, you can also attach soaker hose for your little plant. Please see attached picture as our explanation.
4. Gather your gear: You'll need a battery-operated timer for your drip irrigation system, which can be set like a clock to automate watering times. A pressure regulator / backflow valve is essential to prevent the drip irrigation water from backing up and ruining your household plumbing. Hose adaptors help, as do optional items such as a filter to keep rust and dirt out of the drip irrigation line and a fertilizer injector. Here attached are the pictures of attaching a WT-067 water timer with your garden tap, then to connect with PC-17 or PC-17 Hose Connector with Dual shut-off, then attached 3/4" or 1/2" Hose connector to connect hose or soaker hose as the figures as below:

5. Assemble the drip irrigation lines first: Lay the hoses out in the sun to soften the plastic, so it's easier to work with. Cut the 1/4" hoses with scissors, and push the ends into the connectors to extend the lines toward your plants.

6. Connect the flow from the faucet: Connect the remaining equipment from the tap in this order: Y-connector, timer, how connector, hose-thread adaptor, garden hose, soaker hose, sprinkler, and drip irrigation line. Your water supply is now linked to your drip irrigation system line. There are options of equipment for you to connect with, in accordance with your requirement. Please see the example as below figure:

7. Test the drip irrigation system: Toggle the switch on the Y-shaped connector so water will run from the tap to your drip irrigation system. Set the timer on manual, and then set it to On. Turn on the tap. If you've done this correctly, you'll see the sprinkler start to spout like water dance. The other side of soaker hose will be properly drip water out to water your little lovely plant.
8. Check for leaks: When you're satisfied with the water flow, turn the timer off but leave the tap turned on. You should hear the water stop running. This is the time to ensure there are no leaks between the tap and the other equipment. If there is leakage, you are probably using the wrong adaptor -–
9. Set your automatic drip irrigation timer: Twenty minutes once a day is usually enough. Experiment with different amounts of watering time until you’re satisfied your plants are receiving adequate moisture.
I use this type of self-watering http://irrigationindetails.simplesite.com These are nice because you can put it in any existing container. A similar system would be easy to build out of plumbing supplies. I've found that once the reservoir fills up, if you don't quit the container continues to fill until you can see moisture coming up from below. Which isn't a bad thing. You know you've soaked the soil from the bottom up. No more guessing how deeply you watered
回覆刪除Drip irrigation is the most efficient water and nutrient delivery system for growing crops. Netafim India is the leading Drip irrigation manufacturers in India.
回覆刪除